Guitarists - an AWESOME pedal board for £7!!
Since moving over to Kemper, and favouring my 2xSD1 approach to OverDrive, I slimmed down my pedal use but still continued to use the Bone.... why replace it right? I mean, pedal board bases can be quite pricey so why get another one when I already have a perfectly good one already. Although - it does take up a lot of size. AND - it doesn't fit my Kemper remote.
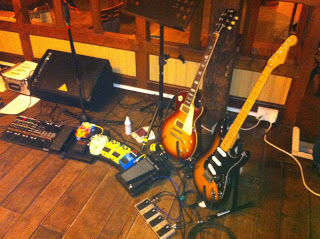
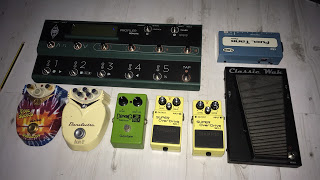
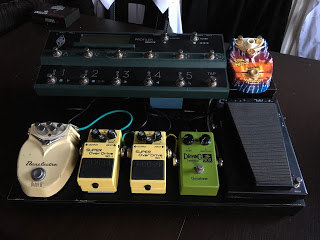
So I looked at all of the pedals I use and arranged them on in a way that would make it a pleasure to drive, and incorporate the Kemper remote.
The next issue, is getting access to the Kemper remote switches without constantly hitting the front line controls. So I'd need to raise the backline. And having the Talkbox on the front line would put the tube right in the firing line for the left side Kemper pedals, so that needed to go on the backline too - of which the only logical place was above the Wah... so that would need to be raised as well.
Google searched turned up nothing really suitable unless I wanted to spend lots of money, and I'm not enthusiastic to spend on stuff that isn't that fun so I set about figuring a way of building a custom base from scratch. And obviously I wanted to do it for as cheap as possible.
Thinking about it further, I remembered that I always arrange my pedals between one of the legs of a mic stand, as I'm a vocalist in most bands I play with. But the arrangement never really pleased me so I set one of the criteria for my board: to allow a mic stand foot to fit underneath the board. I'm not sure if any commercial pedals have this feature anyway.
Knowing Ikea usually has lots of offcuts and left over bits, I figured I'd look for a base or top from one of their cabinets, as well as one of their coat hanger blocks for legs . I headed over to see what was around and was about to walk out with a coat hanger and a large slab of wood at the hench cost of £7, when I noticed a Lack table in the offcuts section.
It was £4.... loads of a base space, legs come with it that would serve perfectly as the risers for the board, the Kemper remote and the Talkbox. So I took a chance.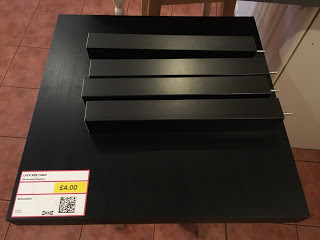
I got it all home and arranged briefly to see whether it would do the thing...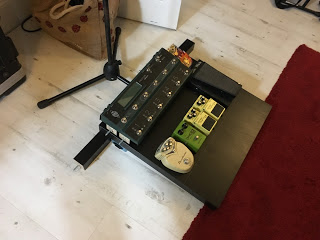
Looks great right?!!
Here's a photo log of cutting it all down: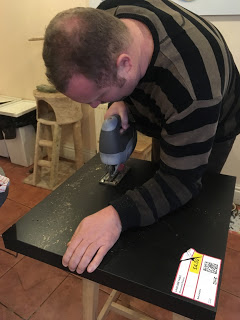
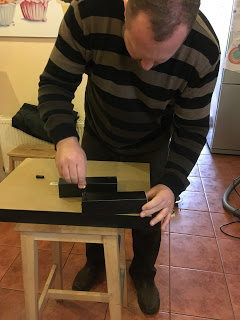


We can see:
• Cutting the board down to size, after measuring the required dimensions.
• Cutting down the legs to make the underside risers, the Remote riser and the Talkbox riser
• Arranging the underside risers, which were fixed into place with Superglue.
• The reason is wear a flat cap out in public!
The superglue has done a remarkable job so far. It's a solid fix, but I do intend on using some small screws to further fix it down later on.
The gap between the legs allows for the mic stand leg to get underneath, although not quite as far as I was hoping but unless I angle the board at a silly angle, I'm going to have to live with it.
From the image above, we can see how perfectly sized the table legs are. The only downside is that they're hollow, so I used back Gorilla tape to cover the end holes and the base where it was cut down to size. It not too noticeable, unless you look closely. But then, I think it just adds to the aesthetic of the board. It's my justification, and I'm wearing it.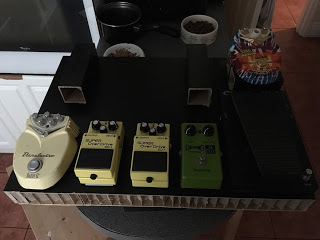
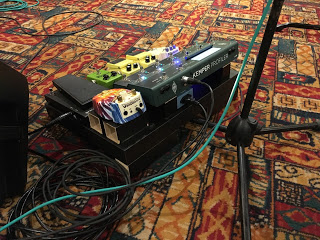
Fixing the pedals to it with trusty velcro, they're locked into place unless I need to move them.
The space underneath the Kemper remote risers is a fantastic place for the Fuel tank to live, and the IEC socket is easily accessible at the back of the board. The Talkbox is also perfectly placed above the Wah for easy access.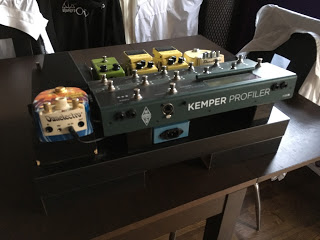
I still need to finish off the Talkbox risers with Gorilla tape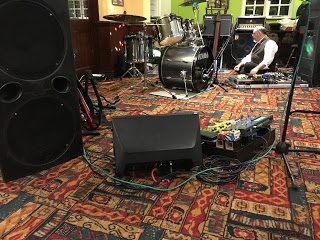
But in it's first test run, it was great - and very comfortable.
This board is primarily for the Function Band "Run Gizmo Run" (www.rungizmorun.com). For the Dire Straits Tribute band, I only need the Kemper remote so I can easily pull it off thanks to the Velcro.
So, for a total of £4 for the table, £1 for the glue, £2 for some additional velcro strips (I had quite a lot already left over from the MegaBone) and a few hours of DIY - I've got an awesome pedal board.
I still have to solve the problem of casing for transport, but so far, it's been transported with all the gear without protective cases and it's fine. I'm surprised how strong the glue is actually.
Maybe you guys can offer some suggestions for a case in the comments? But it's got to be on a budget!!